Kitchen Renovation Lighting Guide
A practical step-by-step guide to kitchen renovation lighting guide, including preparation, instructions, common issues, tips, and next steps.
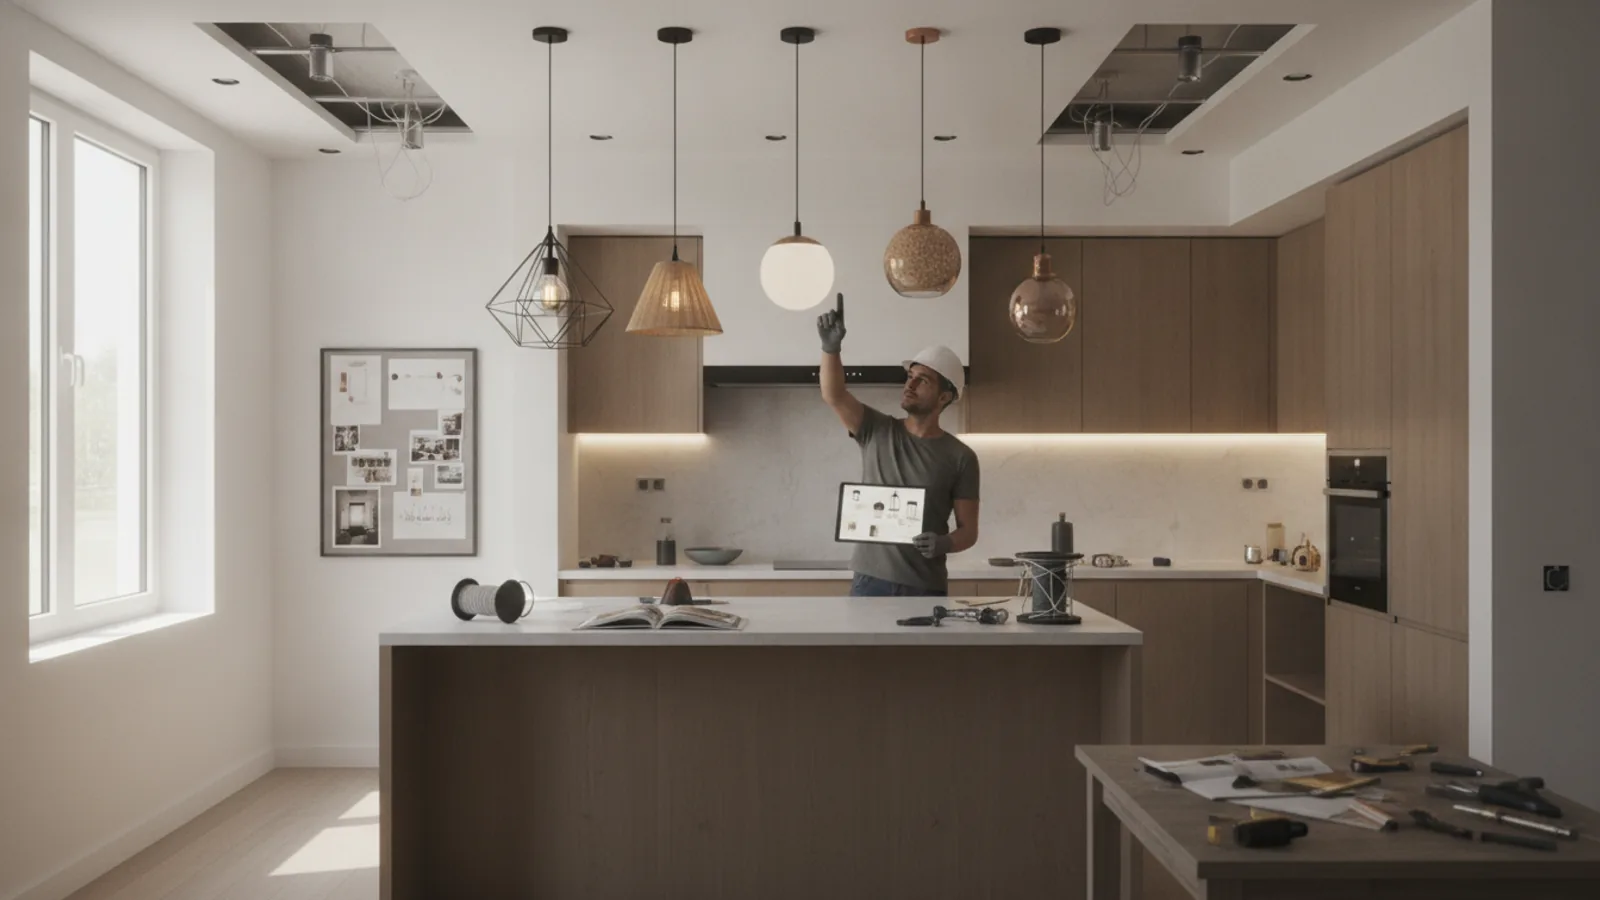
Kitchen Renovation Lighting Guide
This guide explains how to approach kitchen renovation lighting guide, including the preparation, practical steps, common mistakes, and final checks that help you finish with confidence.
Before You Start
Step-by-Step Instructions
Quick Reference
Common Problems When You Plan Kitchen Renovation Lighting
Even with careful planning, some common issues can arise during your kitchen renovation lighting guide process. Knowing them in advance can help you avoid costly mistakes.
| Problem: The kitchen feels too dark or has too many shadows. | Fix: This usually means you haven't balanced your ambient and task lighting effectively. Review your zones. Ensure you have sufficient under-cabinet lighting for all work surfaces. You might need to add more recessed spotlights or consider a brighter lumen output for your main ambient lights. Also, check the placement of your task lighting; it should be directly over the work area, not behind you. |
|---|---|
| Problem: The lighting feels harsh or clinical. | Fix: The colour temperature might be too cool (too high in Kelvin) for your preference, or you might have too much bright, undimmable light. Introduce warmer temperature bulbs (2700K-3000K) for your ambient and accent lighting. Install dimmer switches for all layers, especially ambient and accent, to soften the light when full brightness isn't needed. Layering with accent lighting can also add warmth. |
| Problem: The kitchen is generally bright, but specific areas are still hard to see. | Fix: This points to a lack of effective task lighting. While ambient light helps overall, it often isn't enough for concentrated work. Re-evaluate your plan to ensure every work surface (prep areas, hob, sink) has dedicated task lighting that is bright and focused, such as under-cabinet lights or direct spotlights. |
| Problem: Switch placement is inconvenient or confusing. | Fix: This is best addressed during the planning phase. Before wiring, walk through your kitchen layout mentally (or physically if it's already built) and imagine using it. Are the switches for the hob lights near the hob? Is the main light switch by the main entry door? You might need to add two-way switches for convenience. Smart lighting can also mitigate this by offering app or voice control, reducing reliance on physical switches. |
| Problem: Lights flicker or buzz, especially with dimmers. | Fix: This is a common issue with LED lights and incompatible dimmer switches. Ensure that any dimmer switch you install is specifically rated as "LED compatible." There are different types of dimmers (leading edge vs. trailing edge); your electrician can advise on the correct type for your specific LED fittings to prevent flickering or buzzing noises. |
| Problem: Your chosen light fittings don't suit the room's style. | Fix: While a purely aesthetic problem, it can make a new kitchen feel 'off'. Review images of kitchens with a similar style to yours to get inspiration. Sometimes it's the finish (chrome, black, brass) or the design (sleek, ornate) that clashes. If you're still in the planning stages, choose fittings that complement your cabinet style, worktops, and overall colour scheme. If already installed, consider if shades can be changed, or if a minor fixture swap is feasible. |
Advanced Tips for Kitchen Renovation Lighting Guide
Beyond the basics, these advanced tips can help you elevate your kitchen lighting design, making it truly bespoke and highly functional.
- Integrate Lighting with Cabinetry Design: Work closely with your kitchen designer or cabinet maker. Consider integrated lighting within shelves, drawers with internal lighting, or even LED strips recessed into the top of wall cabinets to create an 'uplight' effect on the ceiling. This seamless integration makes the lighting an intrinsic part of the kitchen structure.
- Consider Layered Dimmers for Mood Zones: Instead of just one dimmer per circuit, think about zoned dimming. For instance, in a large open-plan kitchen, you could have different sets of ambient lights on separate dimmers for the cooking zone and the dining zone, allowing for finer control over the atmosphere.
- Look at Adaptive Colour Temperature (Tunable White): Advanced LED systems offer 'tunable white' functionality, allowing you to adjust the colour temperature from warm to cool throughout the day. You might prefer cooler, more energising light in the morning for food prep, transitioning to warmer, softer light in the evening for dining and relaxation.
- Use IP-Rated Lighting Strategically: For areas very close to the sink, hob, or any potential splash zones, ensure your light fittings have the appropriate Ingress Protection (IP) rating. An electrician can specify the exact rating needed, but generally, IP44 or higher is recommended for these areas to protect against splashes and steam.
- Incorporate Natural Light Maximisation: While artificial lighting is key, don't forget natural light. Strategically placed mirrors or glossy surfaces can help bounce natural light deeper into the room during the day, reducing the need for artificial ambient lighting and saving energy.
- Think About Emergency or Night Lighting: Consider very low-level plinth lighting or subtle LED strips that can be left on at night. This provides safe navigation without fully illuminating the kitchen, ideal for late-night drinks or early morning snacks. Some smart lighting systems can offer very dim 'night light' scenes.
- Plan for Future-Proofing: When wiring, consider installing extra conduits or backboxes in strategic places. This allows for easier upgrades or additions of new light fixtures or smart home technology in the future without needing major re-wiring.
Kitchen Renovation Lighting Guide FAQ
How many spotlights do I need for my kitchen?
What is the best colour temperature for kitchen lighting?
Can I install kitchen lighting myself?
Should all my kitchen lights be LED?
How high should pendant lights be above a kitchen island?
Final Checklist for Kitchen Renovation Lighting Guide
Before you sign off on your kitchen renovation lighting plan, run through this final checklist to ensure everything is covered.
- Layered Lighting Plan: Have you clearly identified and planned for ambient, task, and accent lighting in each zone?
- Kitchen Zones Mapped: Are all functional areas (prep, cooking, washing, dining) covered with appropriate lighting?
- Task Lighting Adequacy: Are all work surfaces sufficiently lit with shadow-free task lighting?
- Colour Temperature Choices: Have you selected appropriate colour temperatures (warm, cool, daylight) for different areas and moods?
- Dimmable Options: Are dimmer switches included for ambient and accent lighting, and are they compatible with your chosen LEDs?
- Switch Placement: Are light switches conveniently located for ease of use upon entry and near key work zones?
- Energy Efficiency: Are all light fittings energy-efficient, preferably LED?
- IP Ratings Checked: Have you ensured all lights in wet or splash zones have the correct IP rating?
- Professional Consultation: Has a qualified electrician reviewed and approved your lighting plan for safety and compliance?
- Budget Alignment: Does your lighting plan align with your overall renovation budget for fixtures and installation?
- Future-Proofing: Have you considered smart lighting options or provisions for future upgrades?
- Visual Appeal: Do the chosen light fittings complement the overall design and aesthetic of your new kitchen?